Backup to Storj with Arq
Storj is an open-source cloud storage platform that’s been around since 2018.
Why Storj?
It’s different from providers like AWS, Wasabi and B2 because it’s decentralized. Your data are encrypted, split into pieces, and distributed on a global cloud network. So it’s not dependent on a single data center or region — no central point of failure. Storj takes care of distributing your data to enough nodes to make sure it’s always available.
At $4/TB per month it’s also cheaper than mainstream single-data-center providers, and much cheaper than multi-region storage with those providers. And there’s no delay in restoring, unlike AWS Glacier.
Backing up to Storj with Arq
We’ve made it very easy to back up your data to Storj with Arq.
Your Storj Account
- You’ll need a Storj account. Sign up here, or log into your existing account here.
- Click on “Buckets” in the Storj DCS console and create a bucket for your Arq backups.
- Click on “Access” in the Storj DCS console and click “Create Access Grant”.
- Give it a name and click “Continue”.
- Accept the default permissions and click “Continue in Browser”.
- Enter an encryption passphrase and click “Next” (Storj uses this password to encrypt your data within their system)
- Click “Generate S3 Gateway Credentials” at the bottom.
- Click “Generate Credentials”. Leave the resulting web page open in your browser while you configure Arq.
Configuring Arq
First, download and install Arq 7.
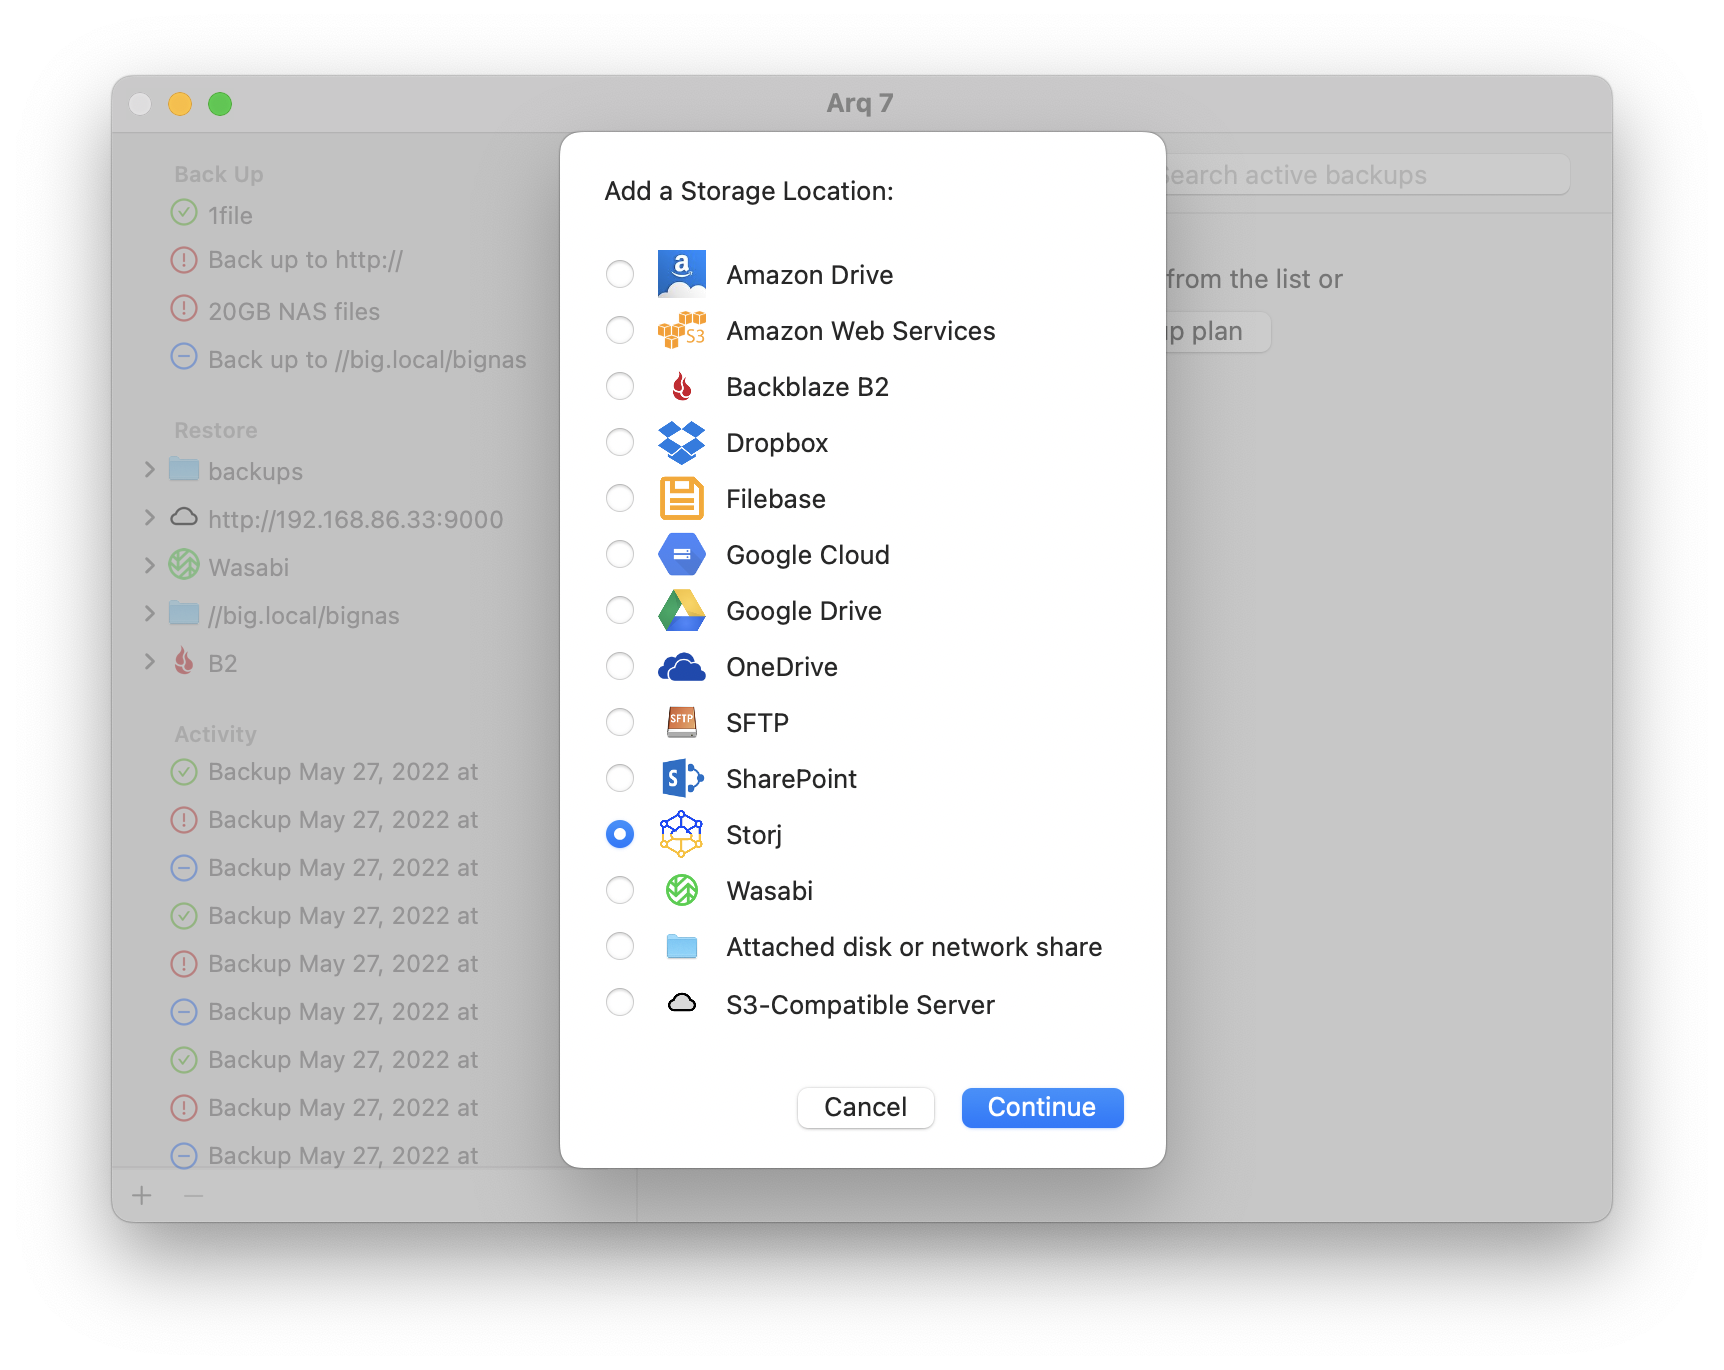
Pick “New Backup Plan” from Arq’s File menu. Click “Add Storage Location”, choose “Storj”, and click Continue:
Copy and paste the “Access Key” and “Secret Key” values from your web browser into the “Storj Access Key ID” and “Storj Secret Access Key” fields in Arq and click “Continue”:

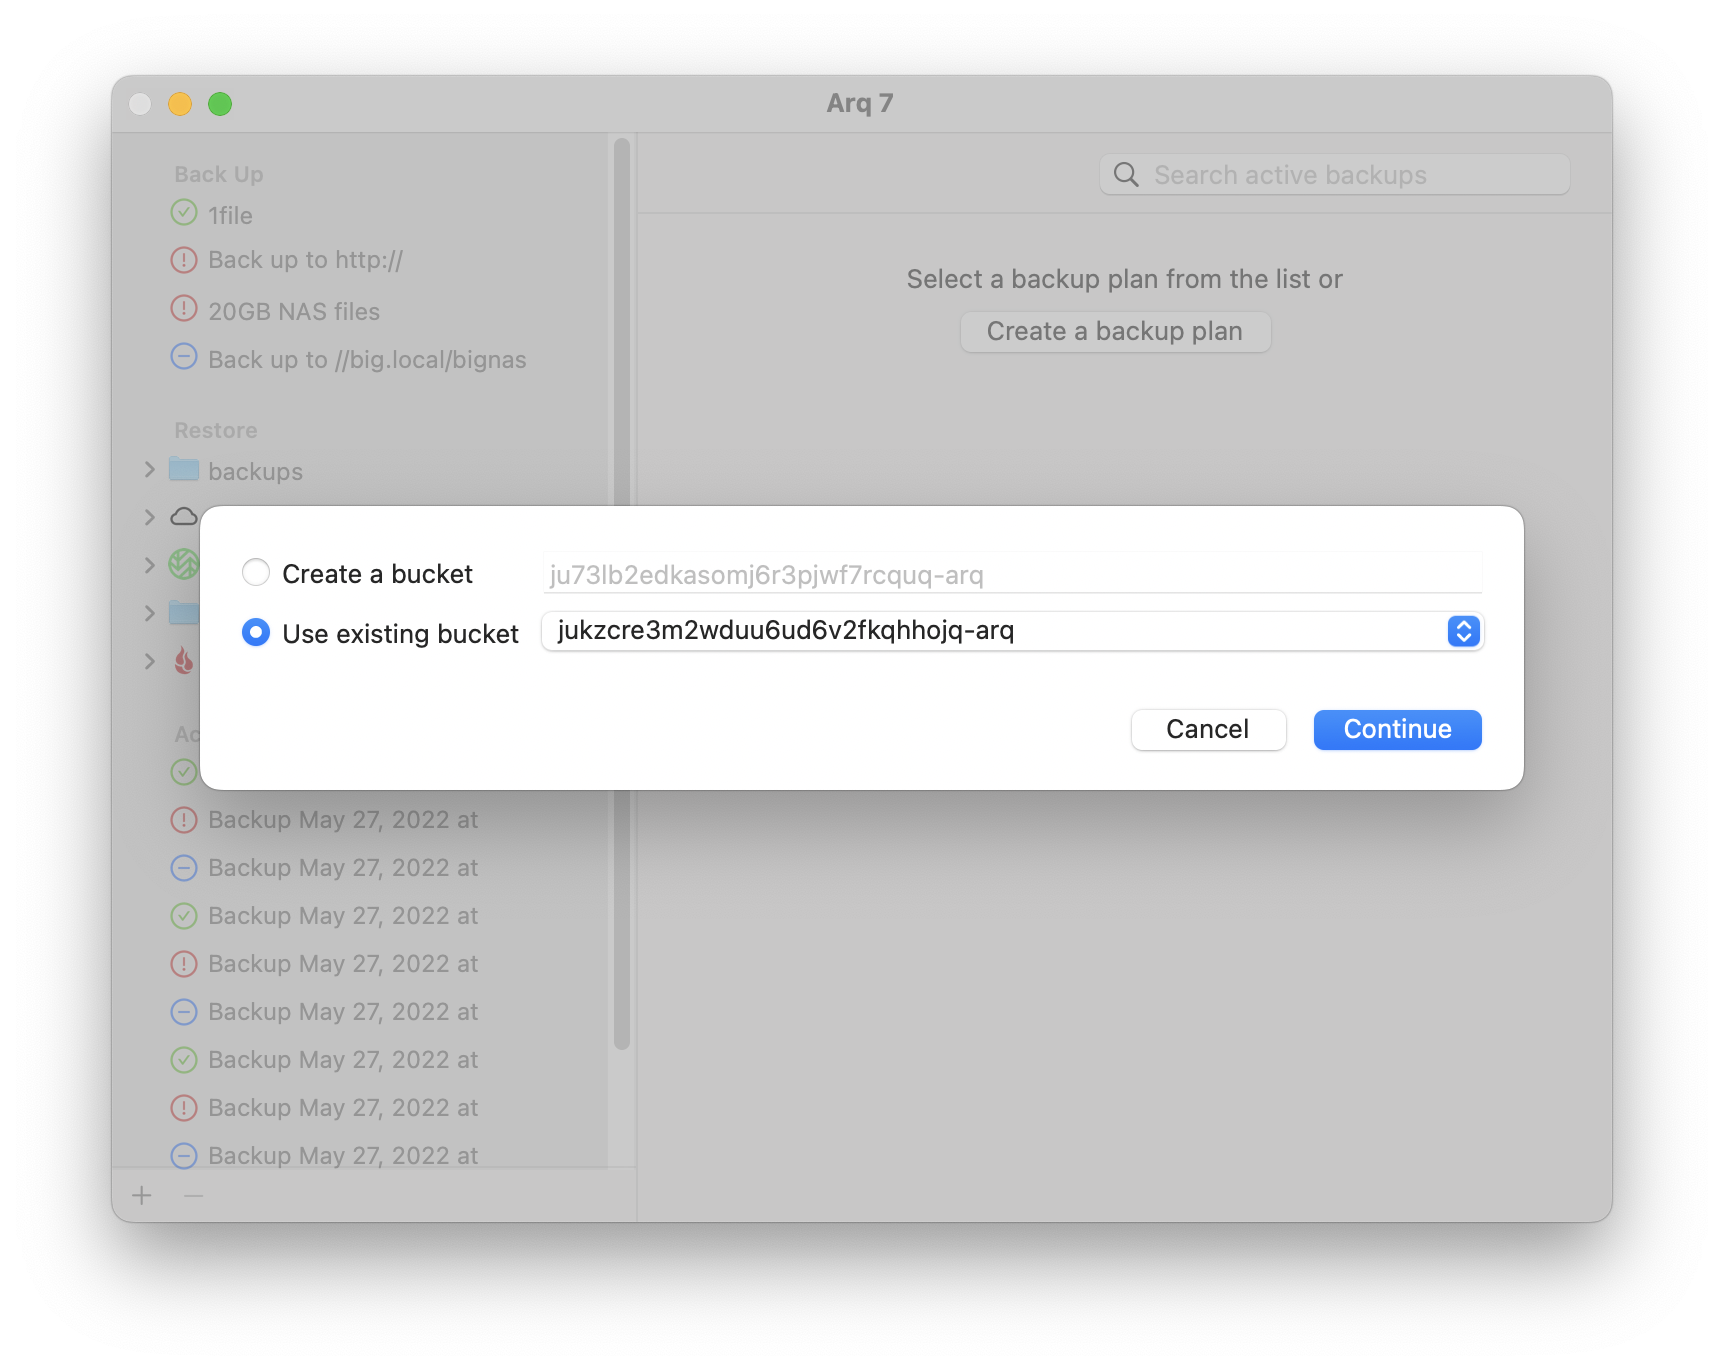
Check “Use existing bucket”, choose your bucket, and click “Continue”:
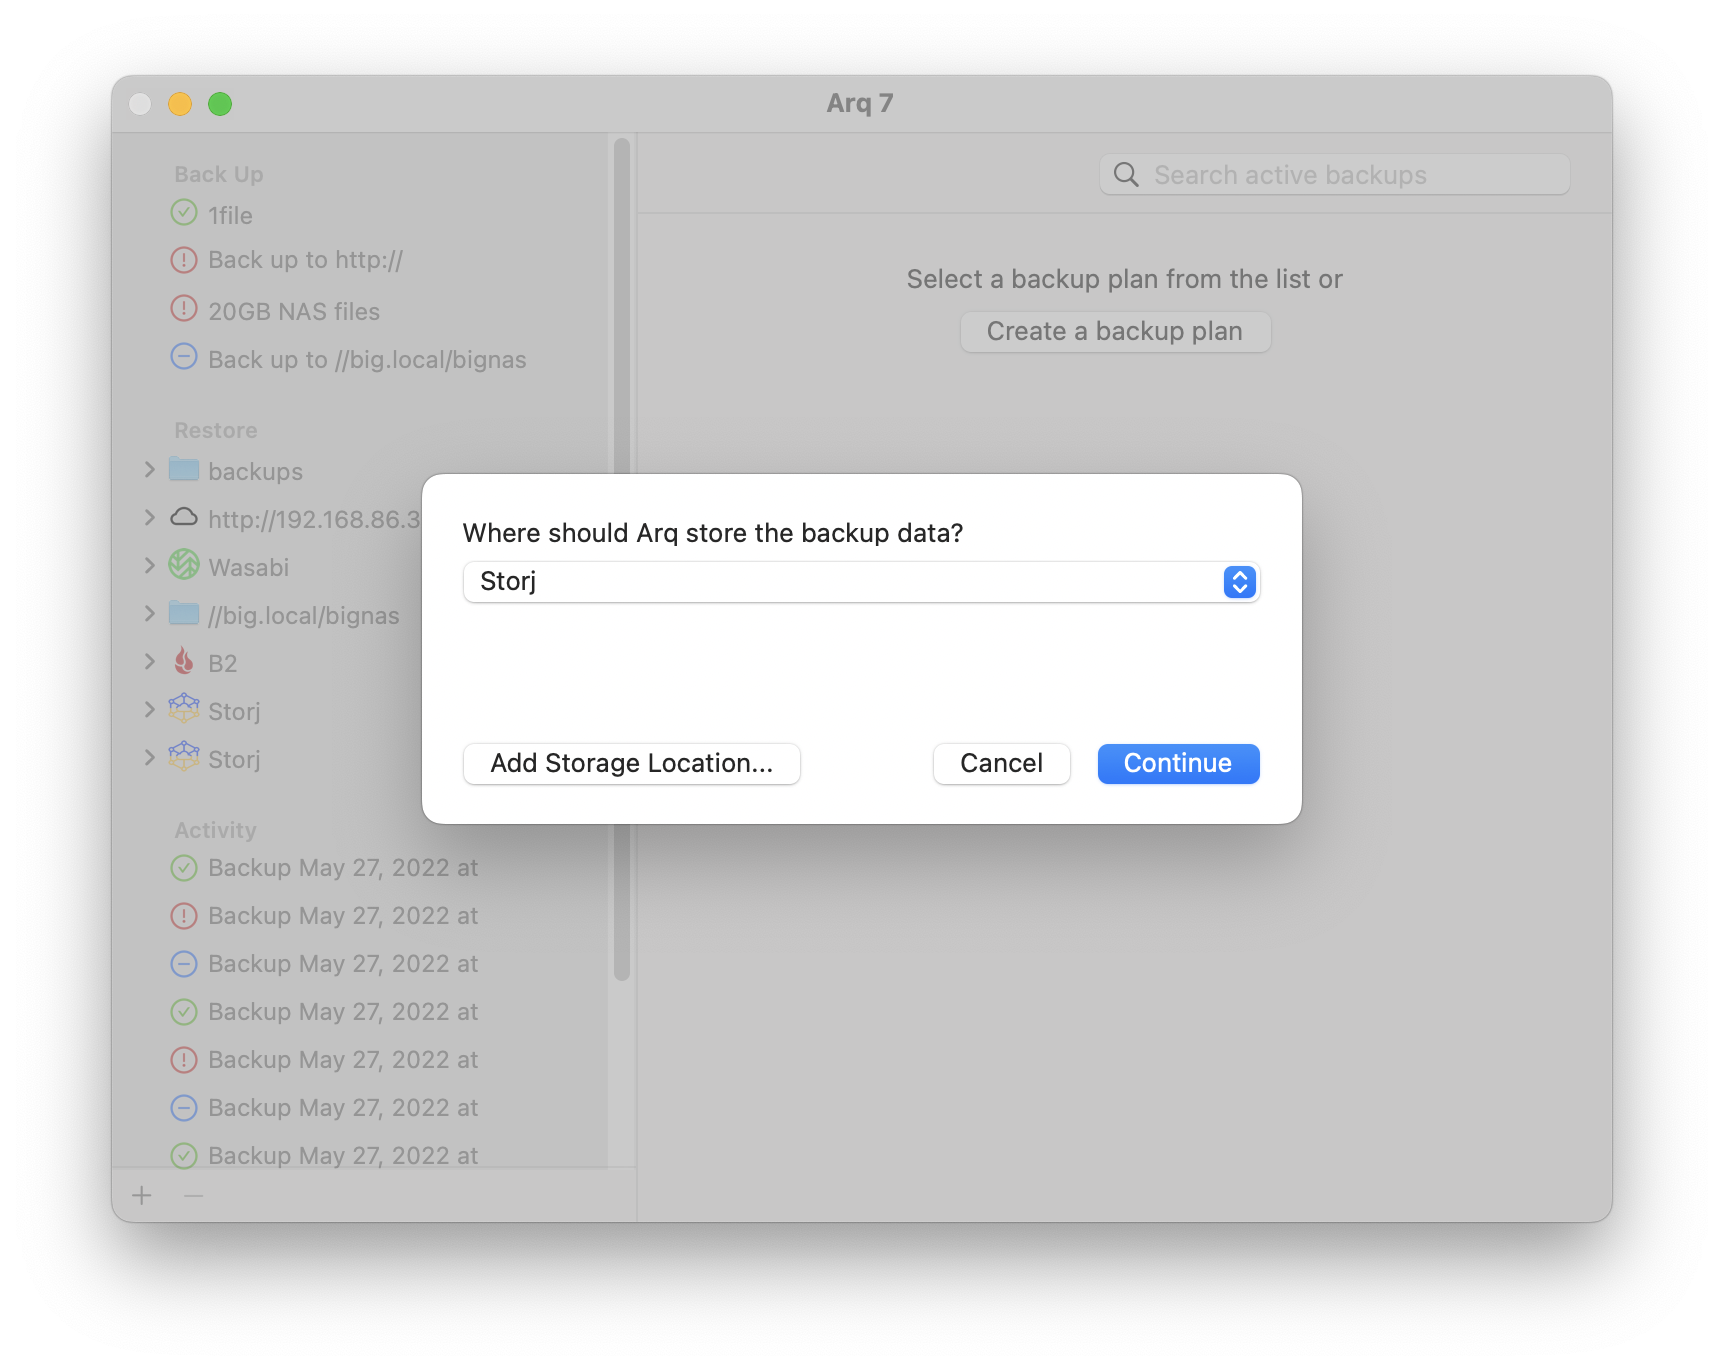
Click “Continue” to use the storage location you just added:
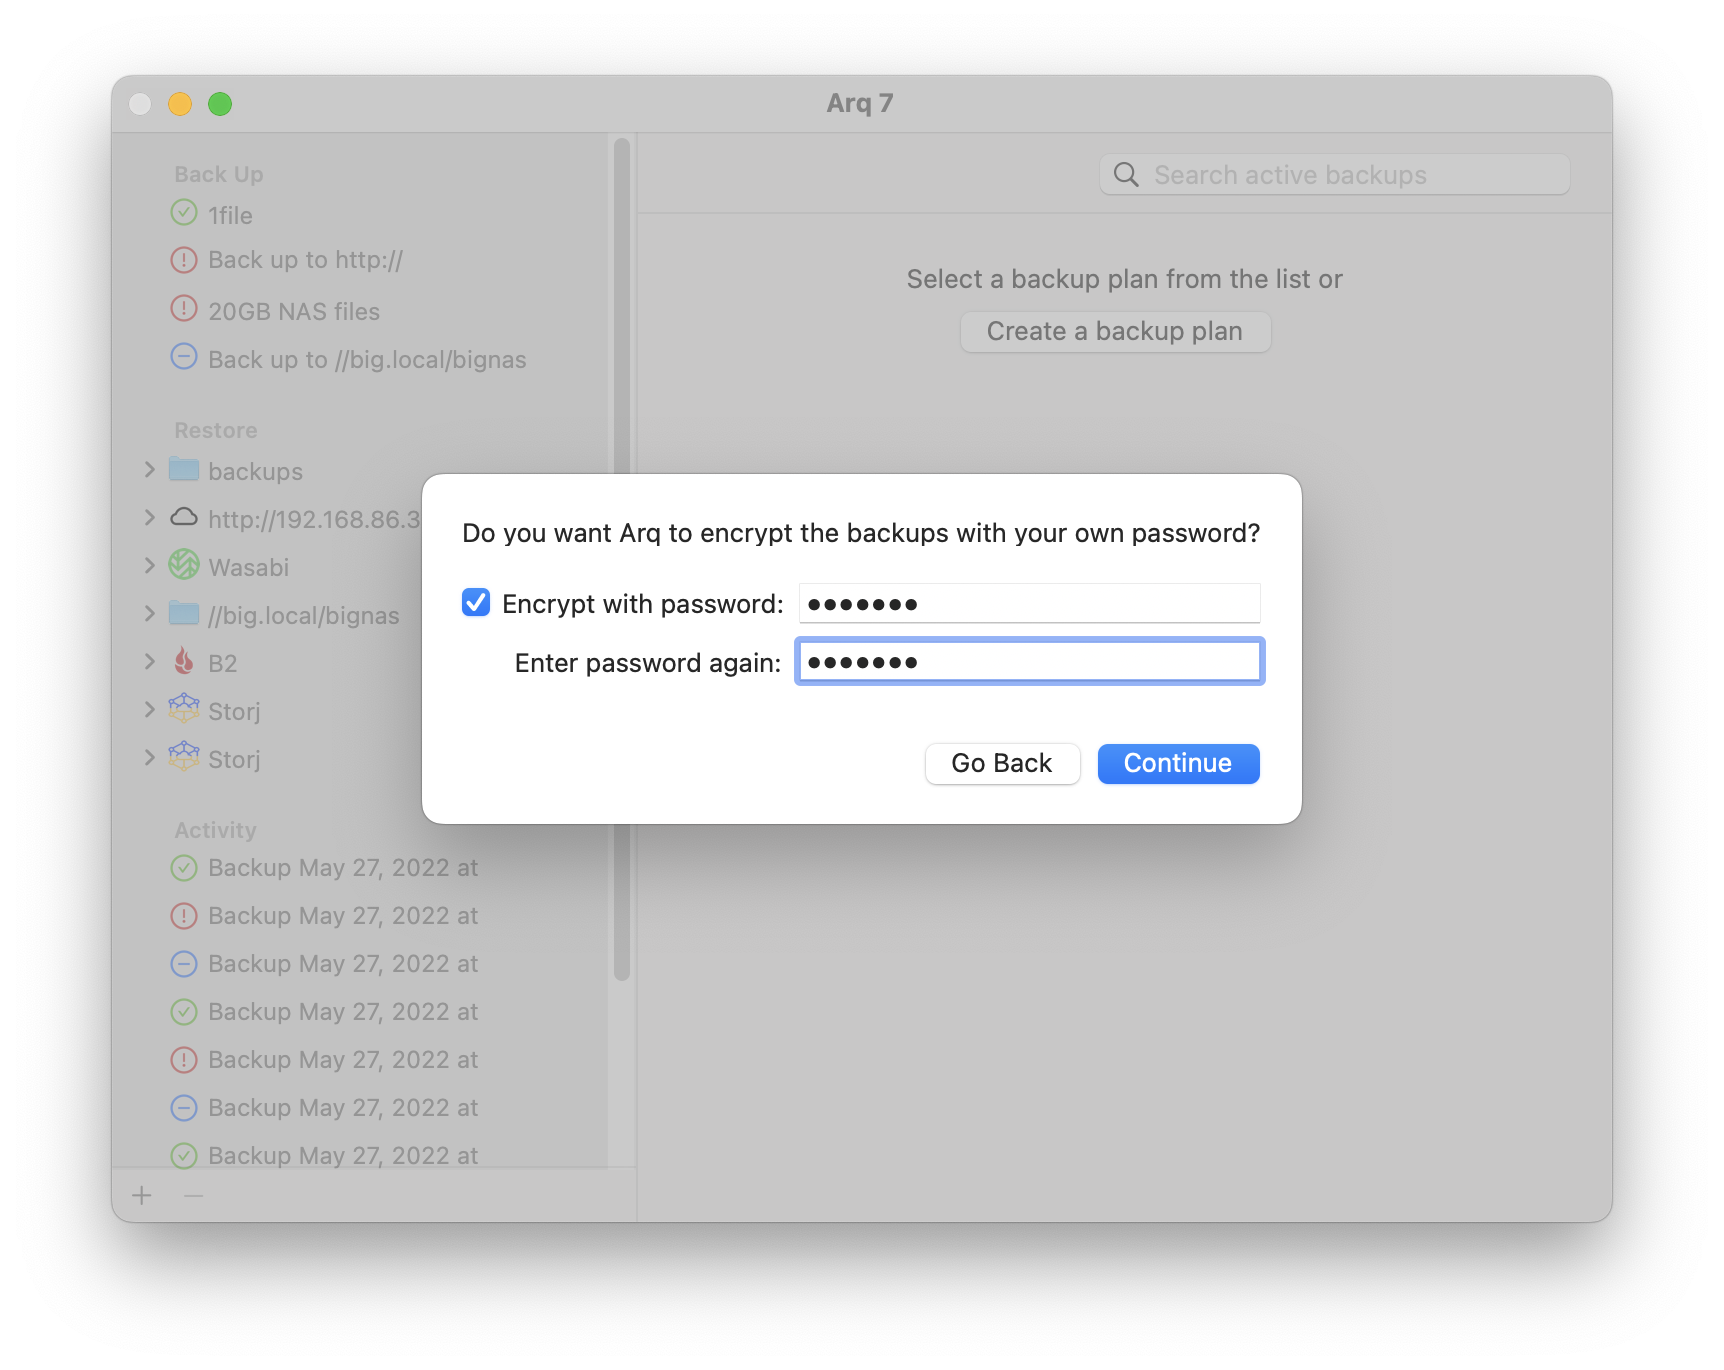
Choose an encryption password for Arq to encrypt your data before transmitting it (this password will never leave your computer):
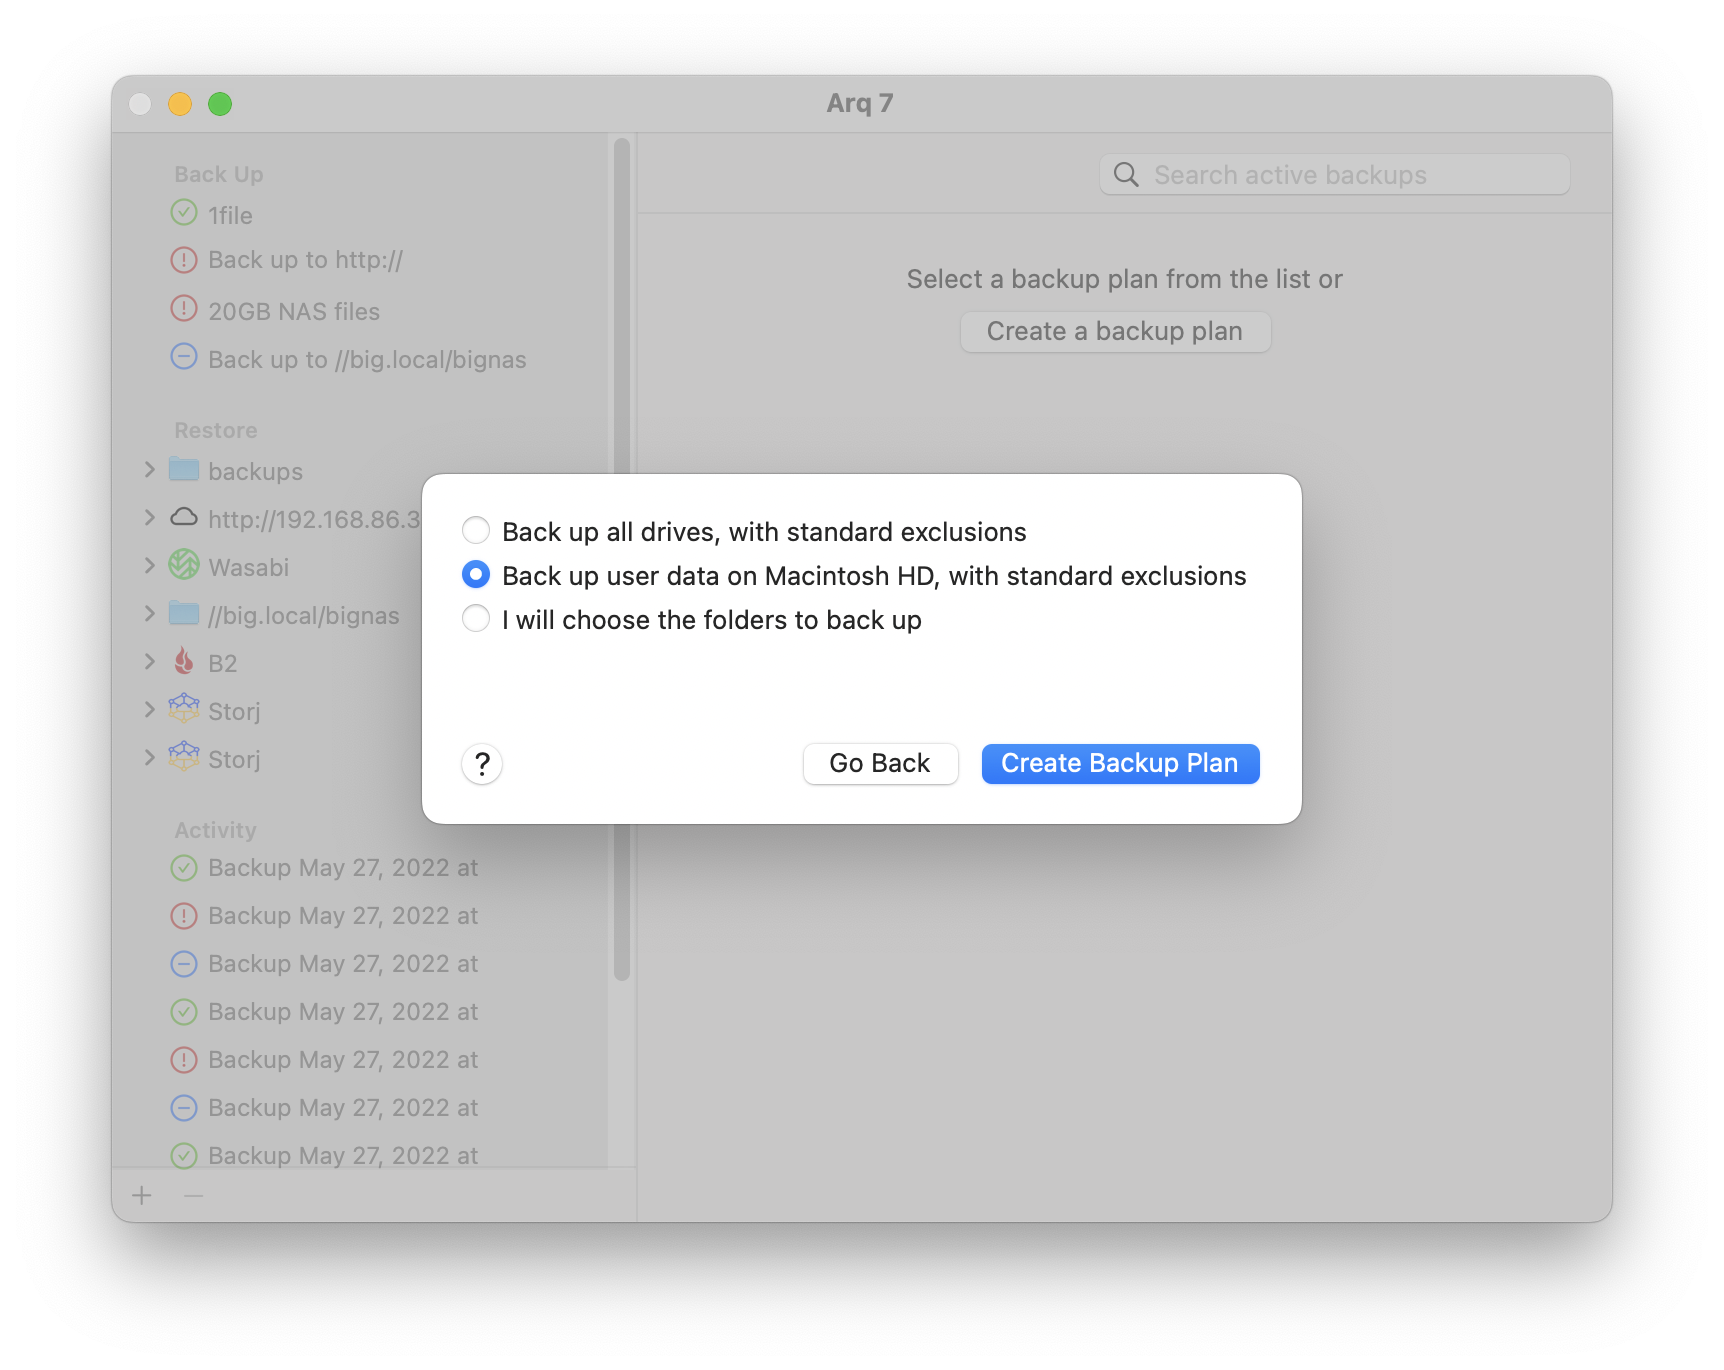
Choose which files you’d like to back up, and click “Create Backup Plan”:
That’s it! Arq will back up your files every hour. To change the schedule, the files being backed up, and many other options, click on your backup plan on the left and click “Edit…”.
For more help on configuring Arq, refer to the Arq 7 documentation.
As always, if you have any questions, please email us at support@arqbackup.com.