When you launch Arq for the first time, Arq asks you to configure your backup destination.
(Alternatively, pick "Preferences" from Arq's menu, Destinations tab, and click the + button to add your destination.)
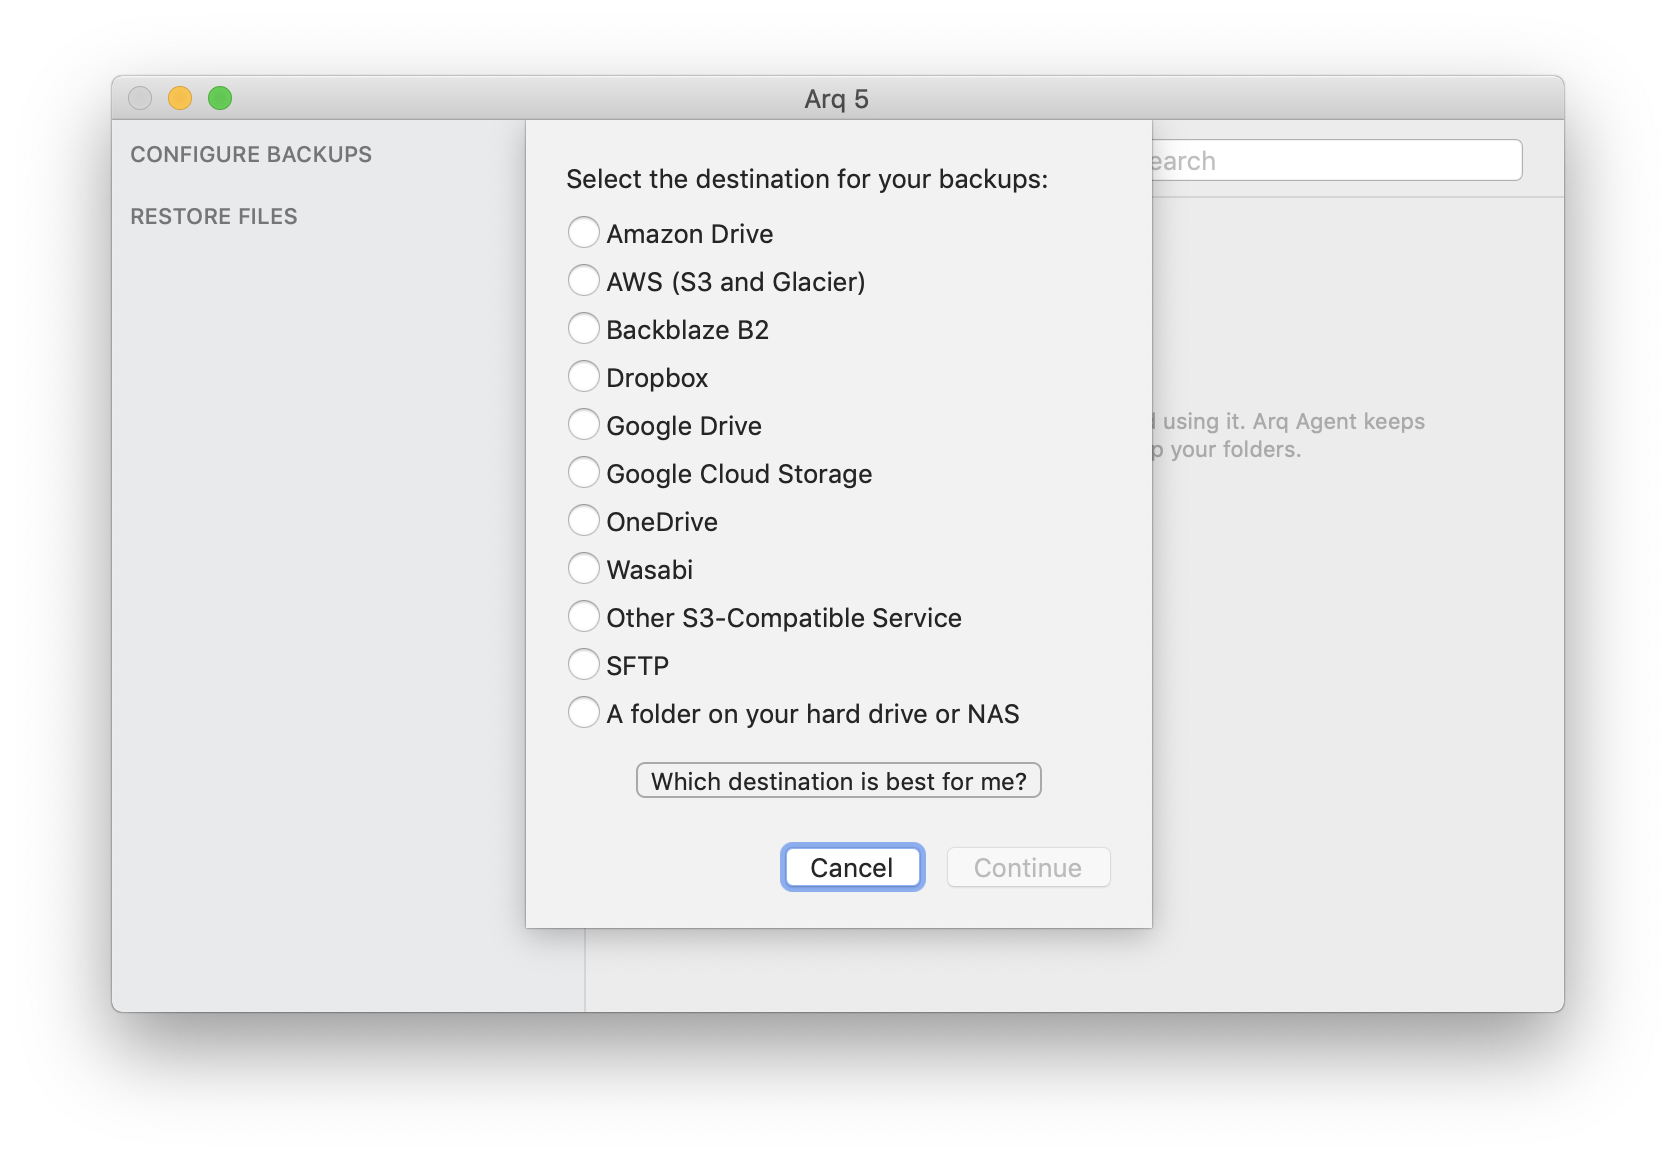
Click the radio button next to your choice and click Continue:
Next, depending on which destination type you've chosen, you'll be prompted to enter needed credentials and/or choose the destination directory for the backup data. Follow the prompts to finish configuring your destination.
Once you've added your destination, Arq will ask what you want to do next:
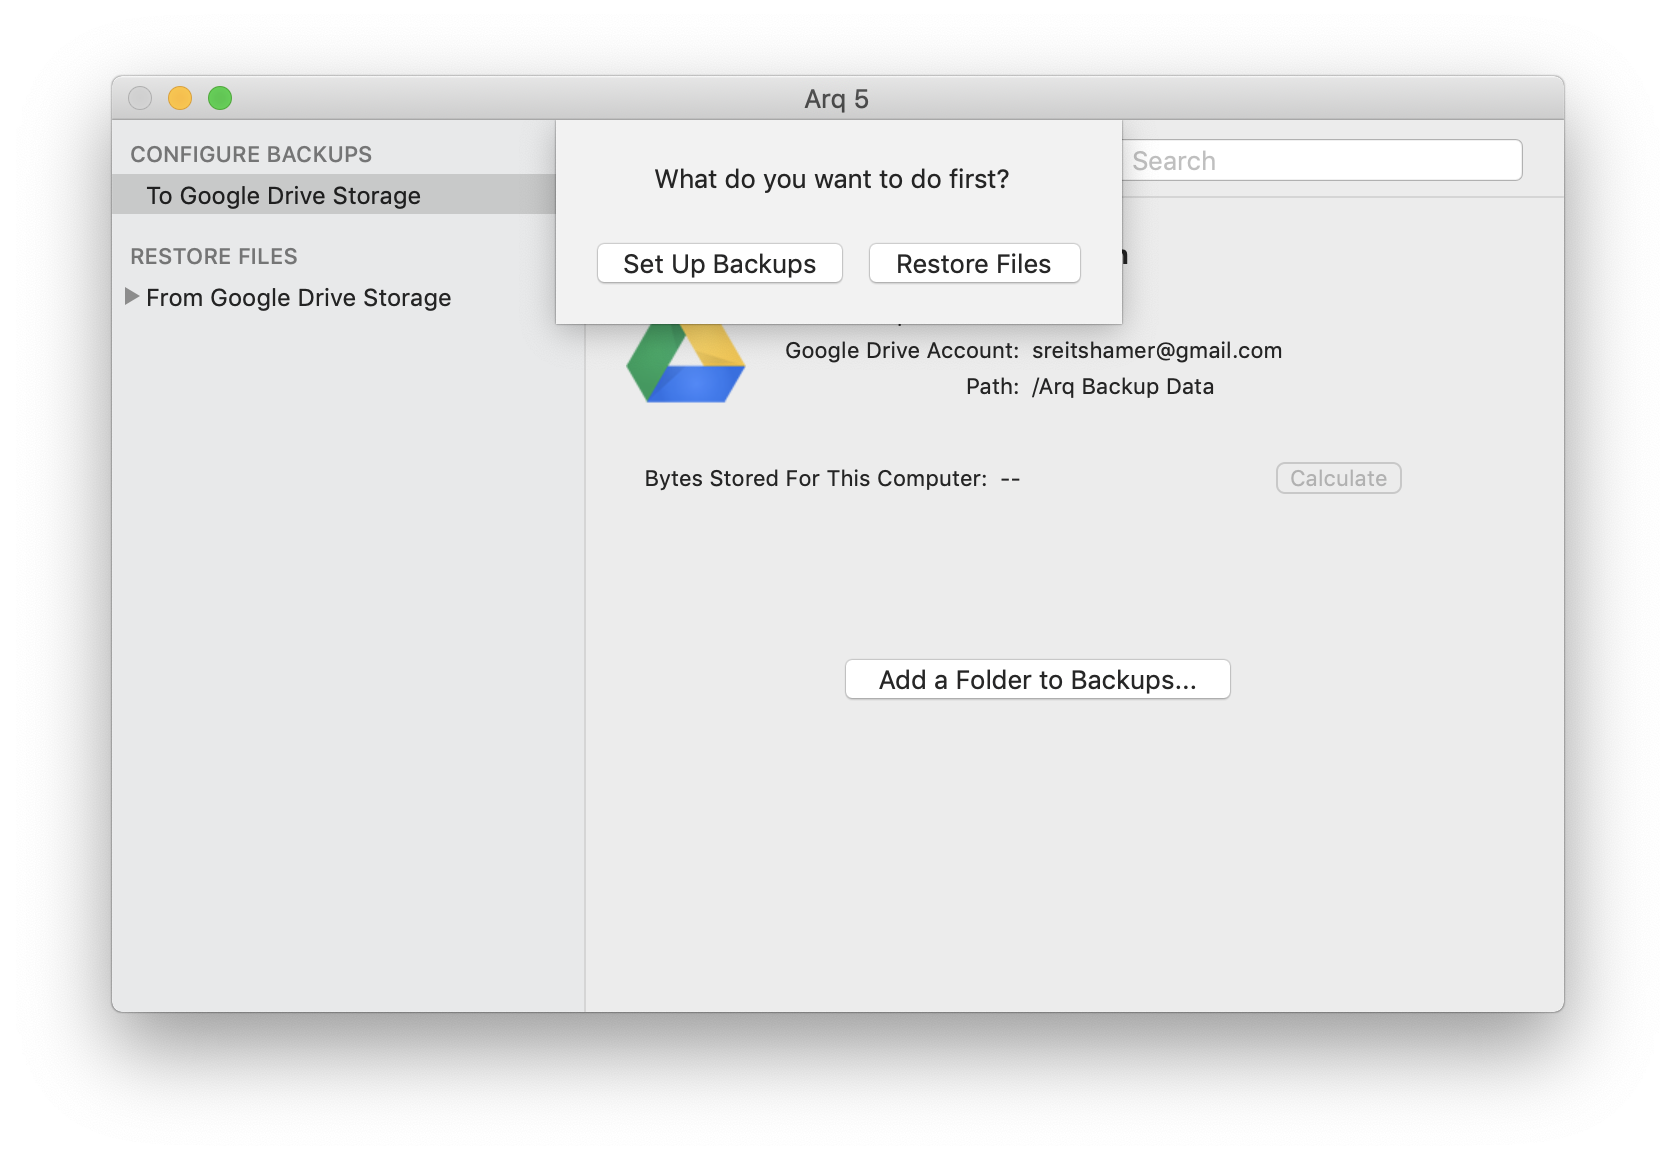
Click "Set Up Backups". You'll be asked to choose a password that Arq will use to encrypt your data before uploading it. Write that password down! Without it, you won't be able to restore your files to a new computer.
Arq will back up your home folder to your destination, excluding log files and other temporary files. This is the best choice for most people.
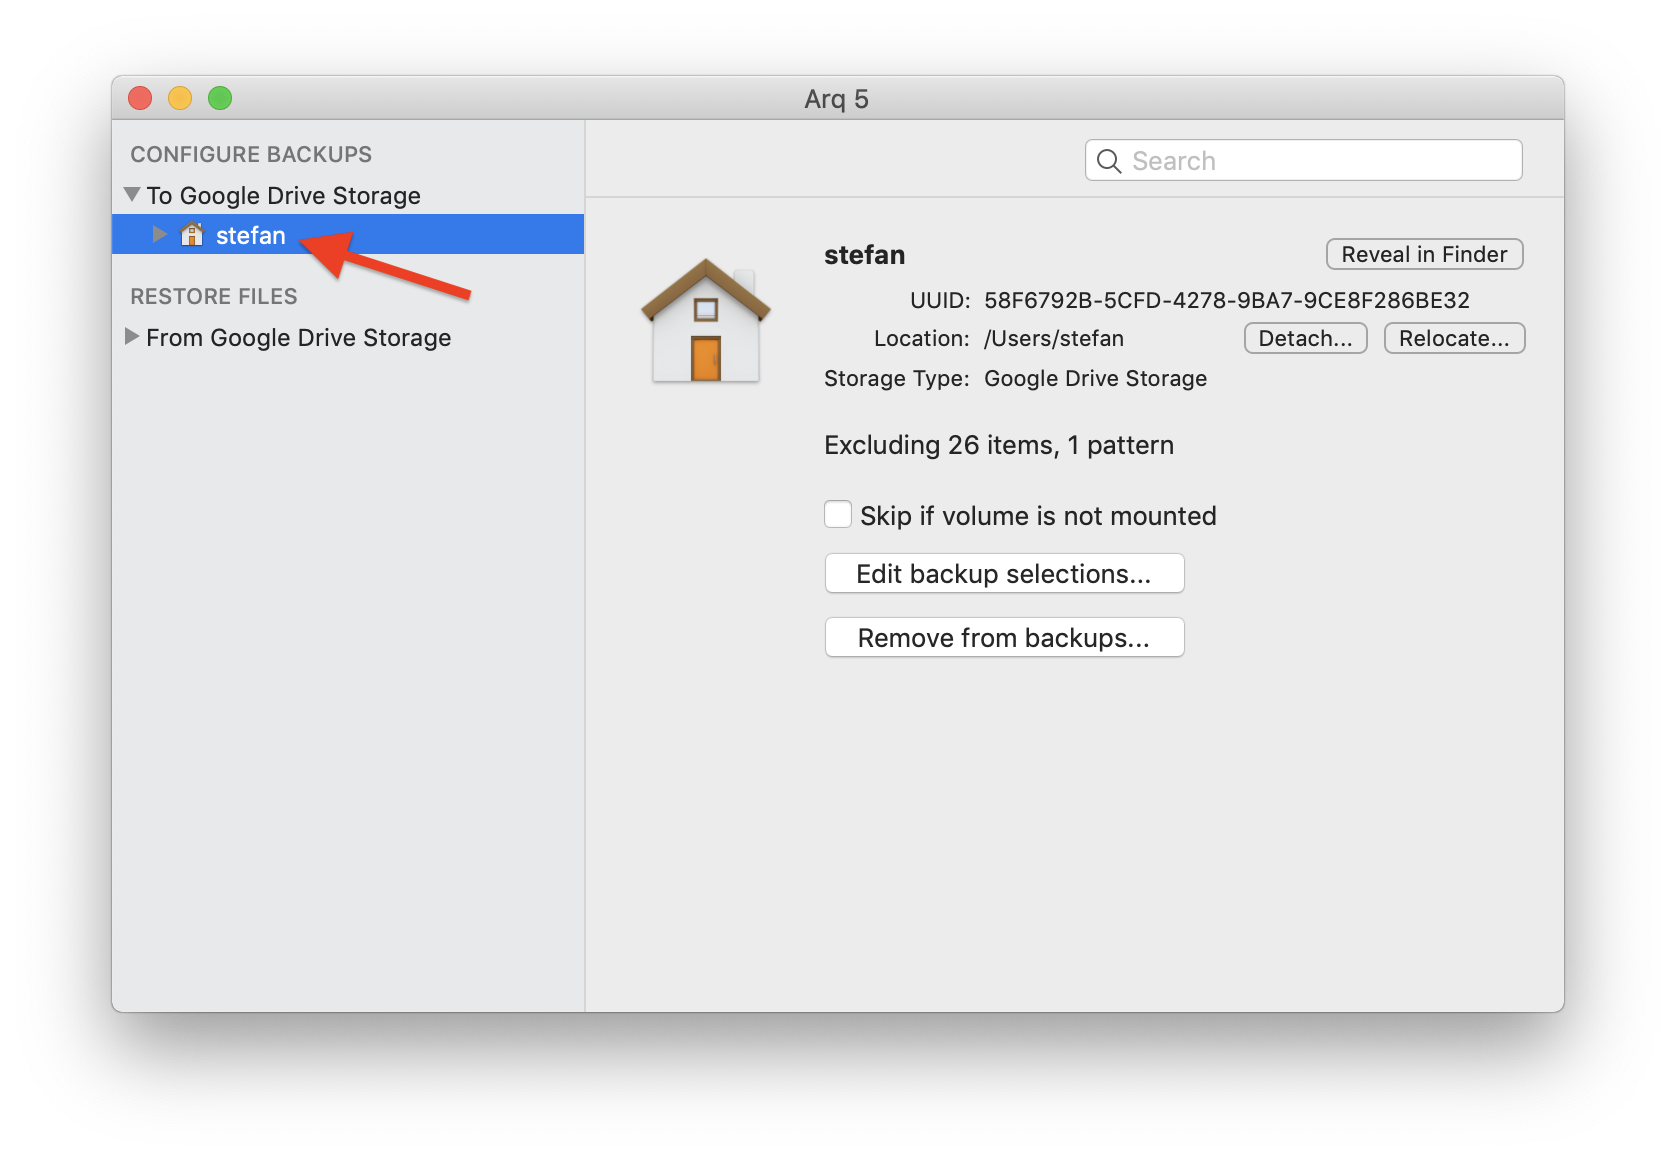
If you'd like to back up additional folders, you can add them to Arq as well.
You can also back up to more than one destination. See the advanced configuration section for more information on that.
If you're finished configuring, quit the Arq app. Arq Agent will run in the background and automatically back up your files.